
At Wellead Medical, we understand the importance of mastering essential medical procedures, especially when it comes to airway management. One critical skill every doctor and medical student must learn is how to insert endotracheal tube (ETT). This article will guide you through the process, ensuring that you are well-prepared for intubation and patient care.
An endotracheal tube: what is it?
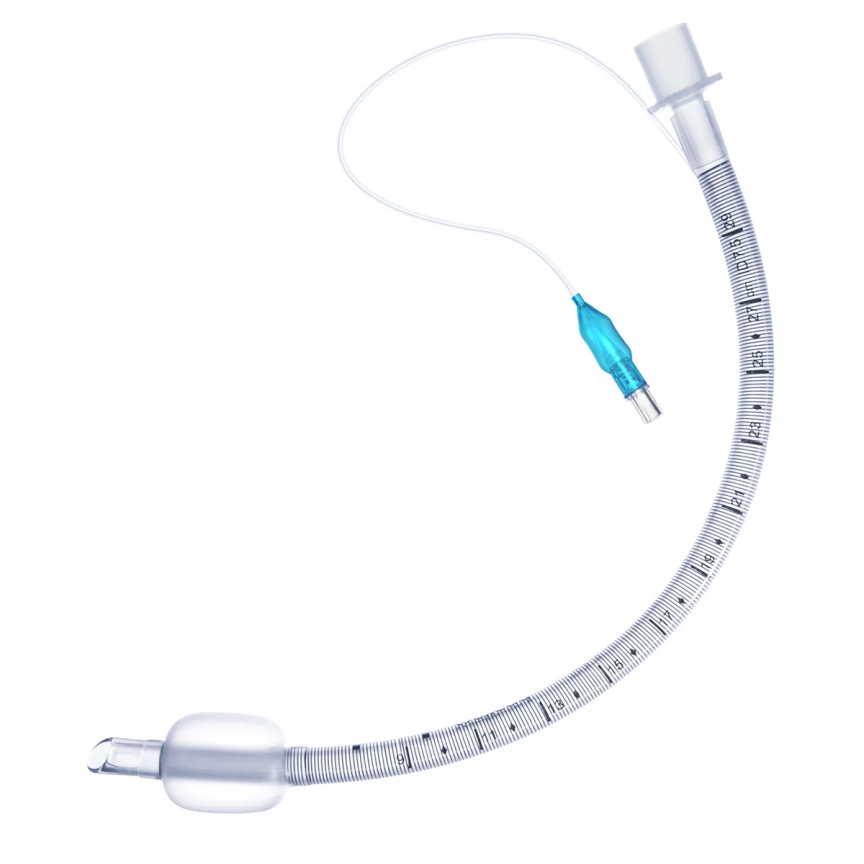
A flexible plastic tube called an endotracheal tube (ETT) is placed into the trachea to maintain the airway. It has a cuff on one end. When it comes to managing the airway in clinical settings, this device is widely regarded as the gold standard. Examples of such situations include anesthesia for surgery or emergency situations where patients are unable to protect their own airway because of factors such as low Glasgow Coma Scale scores, high aspiration risk, or inadequate ventilation. Any healthcare provider providing emergency or surgical care must know how to place an endotracheal tube.
Tools Needed to Insert an ETT
Prior to doing an intubation, make sure you have all the tools you’ll need. The following are the main instruments required for insertion of an endotracheal tube: 1. Laryngoscope: Check that the light function is working and make sure the blade size is correct (size 3 for most patients). 2. Cuffed Endotracheal Tube: It is important to choose the appropriate diameter, which is usually 8 mm for men and 7 mm for women. 3. Cuff Inflation Syringe: This is necessary to adequately inflate the cuff following implantation. 4. Monitoring Devices: To help guarantee patient safety, an end-tidal CO2 monitor, pulse oximeter, and other vital sign monitors are recommended. 5. Ventilation Supplies : Prepare your oxygen supply, face mask, and ventilation bag.
Detailed Instructions for Inserting an Endotracheal Tube
To carry out a successful intubation, adhere to following procedures:
1. Pre-oxygenation: Give the patient three to five minutes of high concentration oxygen.
2. Positioning: To attain ideal alignment, flex the neck slightly and extend the head.
3. Laryngoscope Technique: Look down the length of the laryngoscope as you insert it. Use it to move the tongue aside so that the epiglottis and uvula are visible.
4. Insertion Technique: Insert the tube into the glottic orifice after lifting the epiglottis with the laryngoscope.
5. Confirm Placement : After inserting the cuff, establish its place by inflating it. Then, fasten your ventilation device and keep an eye on chest expansion and breath sounds by auscultating the area.
Conclusion
At Wellead Medical, we are committed to equipping healthcare professionals with the knowledge and tools they need for effective airway management. Whether you’re a seasoned practitioner or a medical student, mastering this technique is essential for providing high-quality patient care. Should you have any questions or need assistance with our products, please reach out—we are here to support you every step of the way!